
Projects
Ever wondered what you could do with your crewelwork embroidery other than pop it into a frame? One of the things I love about crewelwork is that it’s meant to be used. Made with linen twill and Appletons wools my crewelwork kits can be made up into needle cases, fire screens, cushion covers ets.
This blog is a step-by-step make up instruction guide on how to make your very own embroidered craft bag.

Projects
Ever wondered what you could do with your crewelwork embroidery other than pop it into a frame? One of the things I love about crewelwork is that it’s meant to be used. Made with linen twill and Appletons wools my crewelwork kits can be made up into needle cases, fire screens, cushion covers ets.
This blog is a step-by-step make up instruction guide on how to make your very own embroidered craft bag.
Craft Bag – Step-by-Step Instructions
The measurements below are for my crewelwork embroidery workshop students to make craft bags from the intermediate and advanced embroideries kits. Should your embroideries be larger or smaller tweak the measurements below to accommodate.
First, you’ll need 2 embroideries with background fabric that measures at least 30cm wide by 34cm long. The embroideries I have used are on rectangle pieces of linen twill with the embroidery centered to the bottom as there will be a ruffle to the top. Your completed bag will measure 27cm wide by 27cm long with a 4cm ruffle to the top.
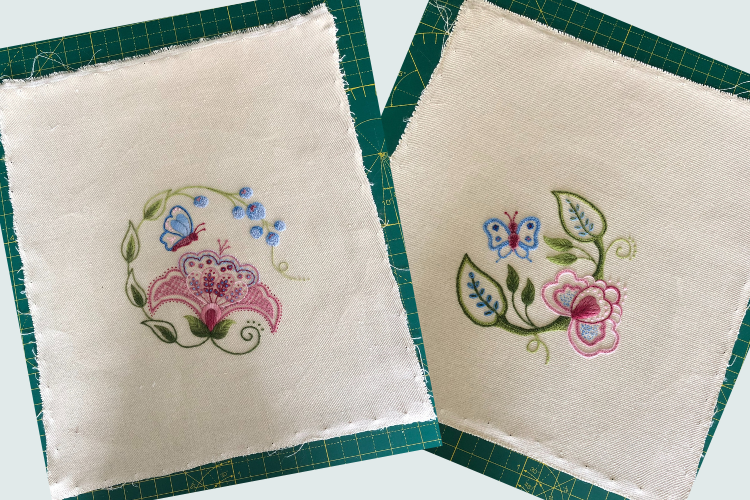
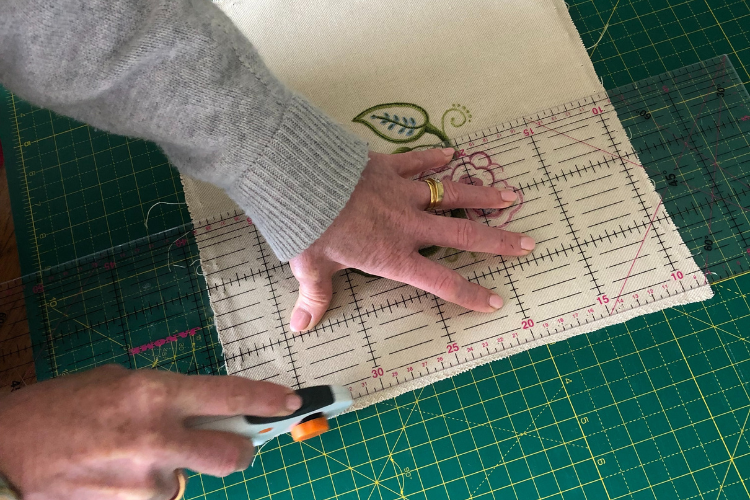
After blocking your embroideries trim so that they measure 30cm across and 34cm long. This will give you a 1.5cm seam allowance. Zigzag around all the edges to strengthen and prevent fraying.
For a step-by-step guide on how to block embroidery …
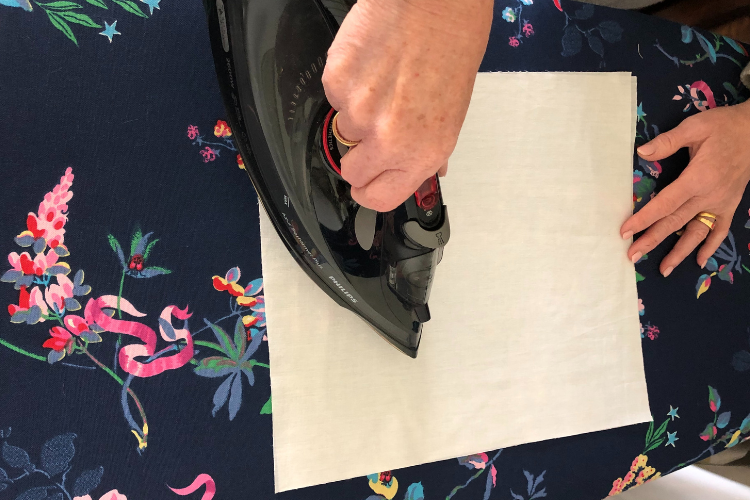
Next, cut 2 pieces of lining exactly the same size as your embroideries, iron and zigzag to prevent fraying.
Place each embroidery with matching lining right sides together and machine sew along the top edge of your embroidery bag. Open out and press the seams flat.
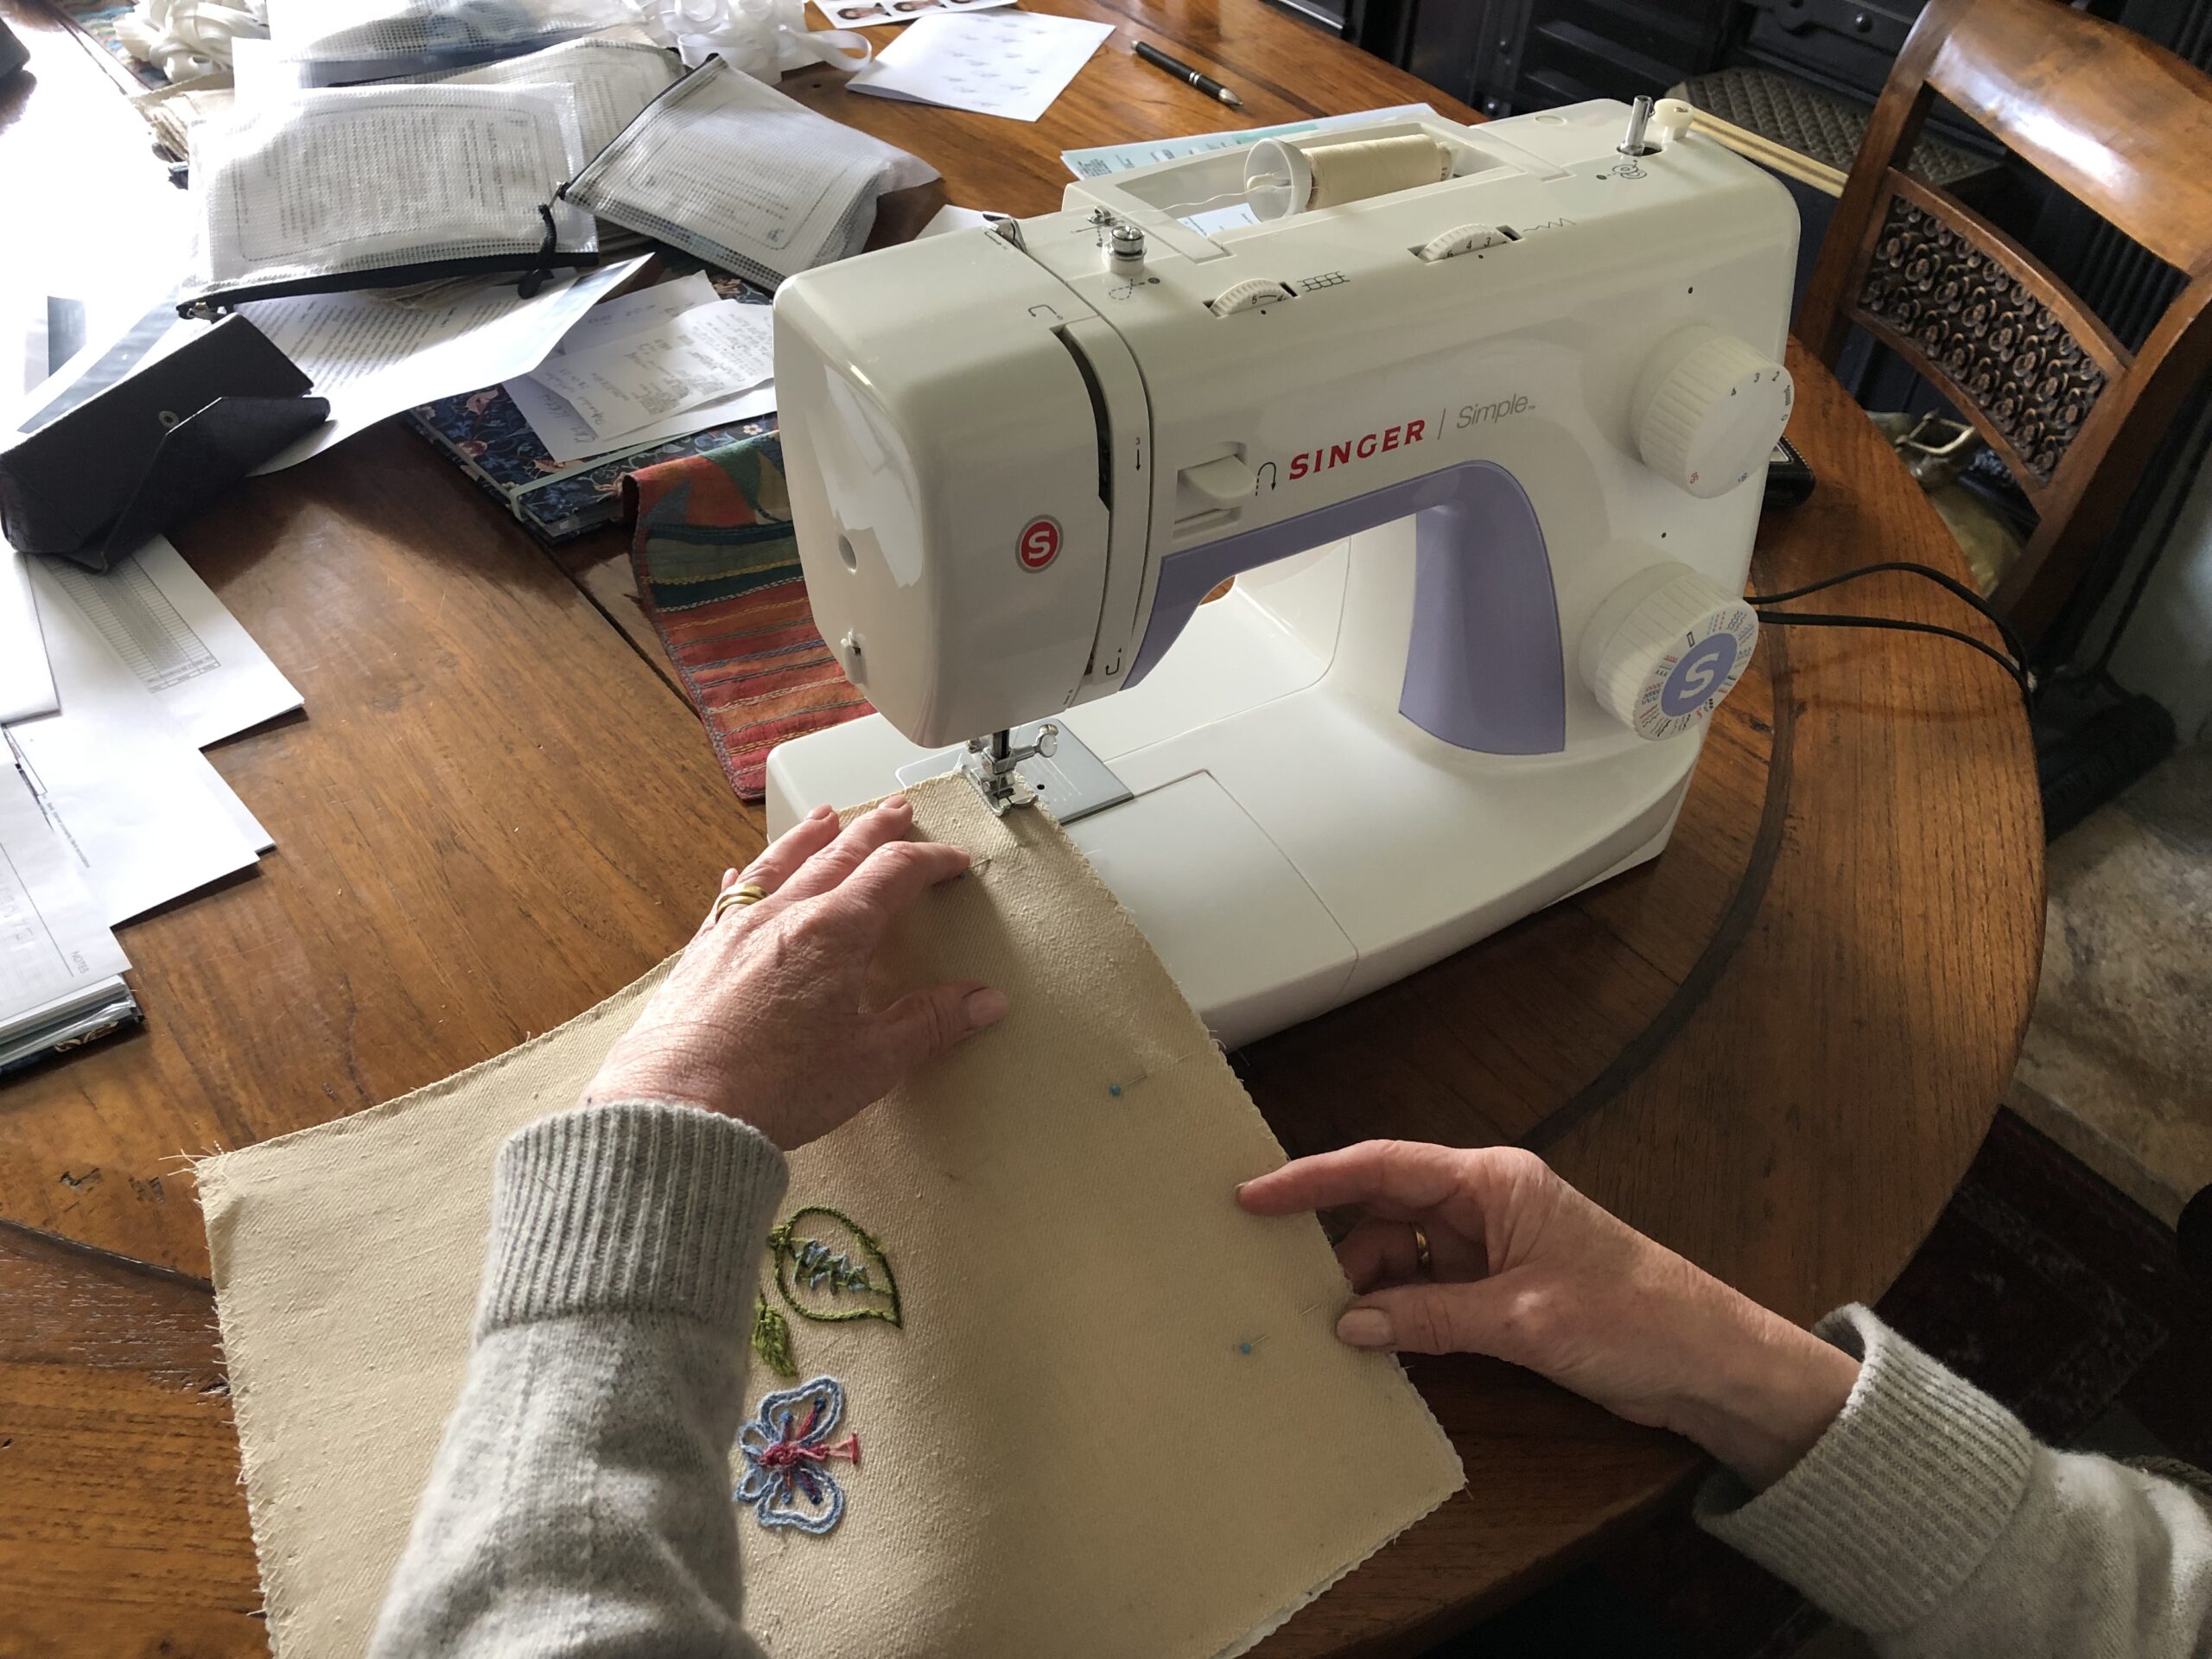
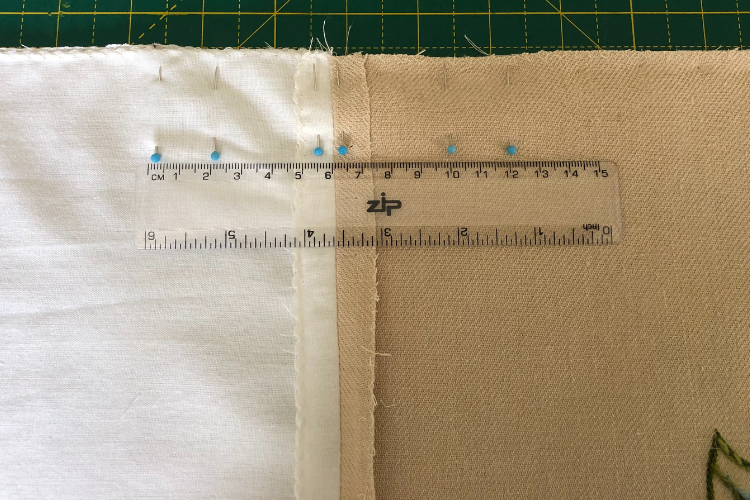
Place both embroideries and lining rights together. Pin from the centre out as above on both sides of your work to indicate the ribbon opening/channel placements.
Pin 4cm down from the seam on both sides. This will become to top frill. Then another 2 cm below, this will beome the opening for the draw, ribbon or cord.
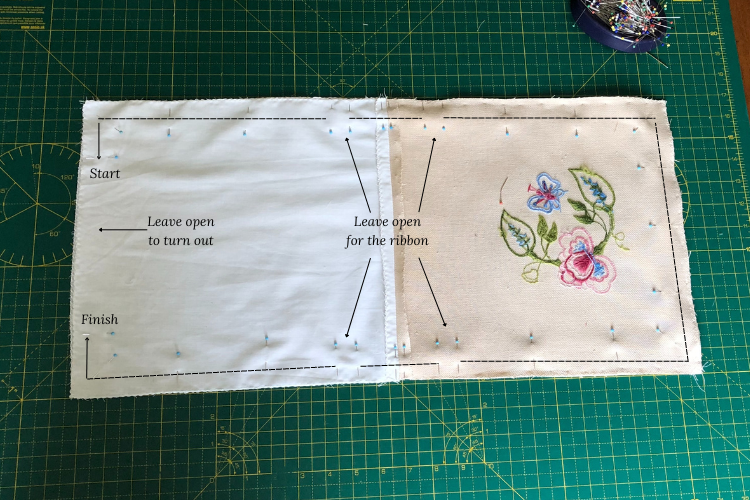
Following the image below, stitch with a 1.5cm seam allowance from the start to finish line. Don’t forget to leave open where you’ve marked for the ribbon openings/channels. You’ll be leaving an opening at the bottom of the lining to turn out the bag.
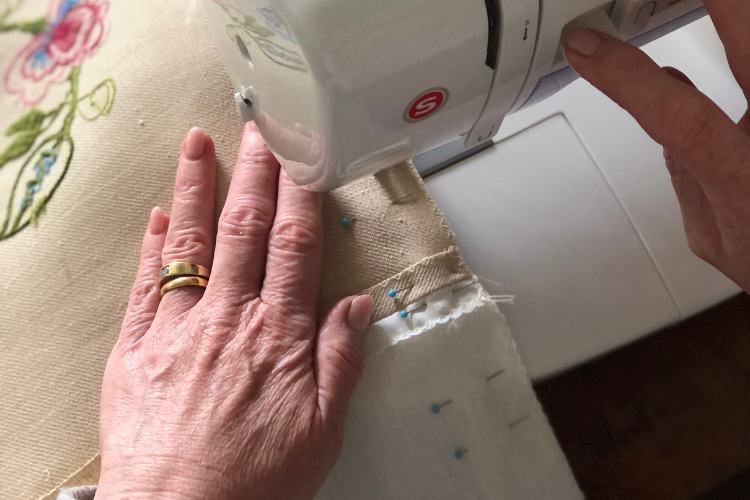
I like to back tack so that my stitching is secure each time I start and stop the gaps for the ribbon channels.
Trim any bulk from the corners and turn your bag right side out. Adjust and align the seams then poke out the corners/seams and adjust the corners so that everything aligns.
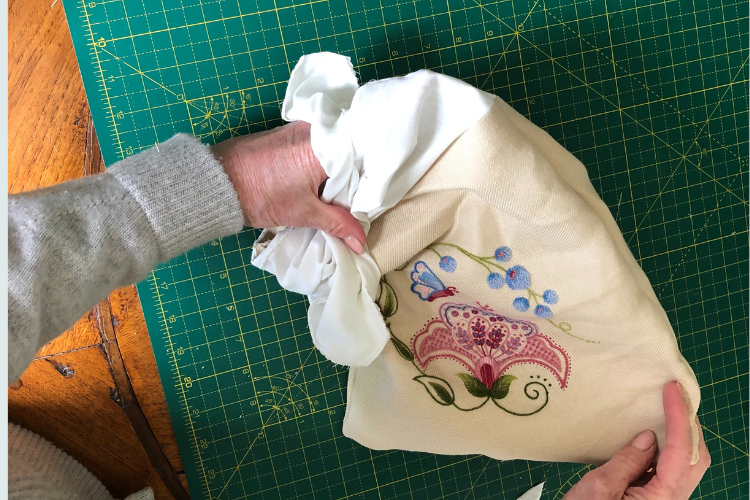
Reach inside the bag and pull out the lining. Pin closed the opening and machine stitch. Then place the lining back into the bag, and line up the lining and face fabric ribbon holes.
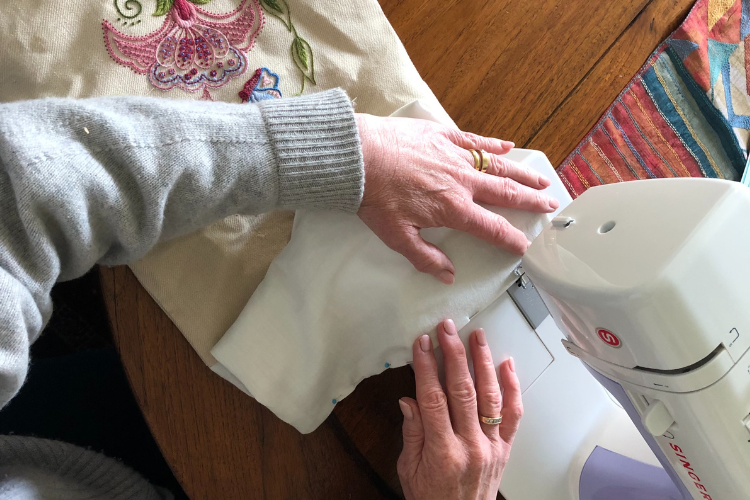
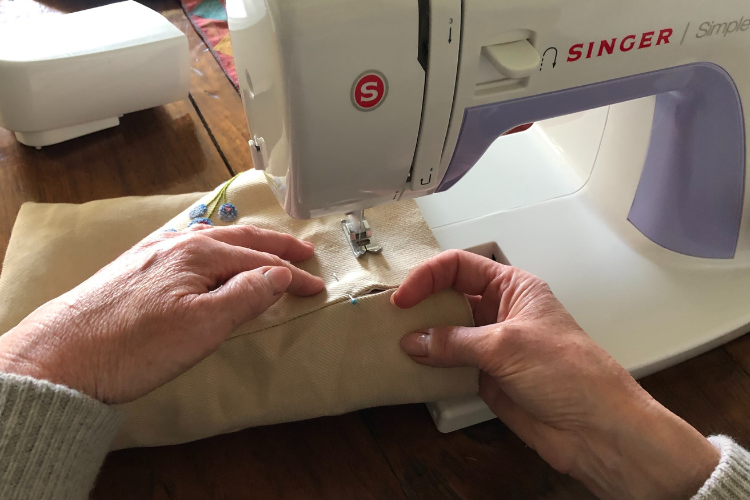
To reinforce the ribbon channels stitch through the whole bag, face fabric and lining along the top and bottom line of the ribbon channel.
Using a large pin, thread through your ribbon and your embroidered craft bag is complete.
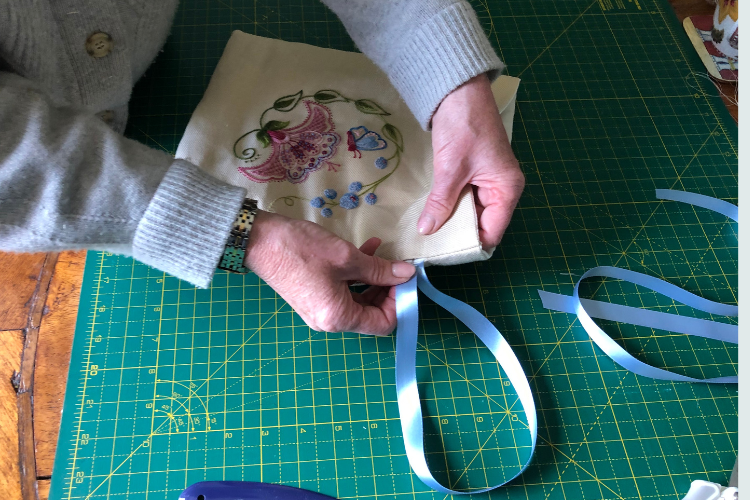
This little embroidered craft bag is perfect to hold small personal items or craft supplies. I use mine to store my Appletons wools. I have a bag for each project I’m working on. This makes organising my craft supplies so easy and everything looks soooo pretty.

Workshop Dates
Jacqueline runs mixed ability small group embroidery workshops, in various venues, at scheduled times throughout the year.